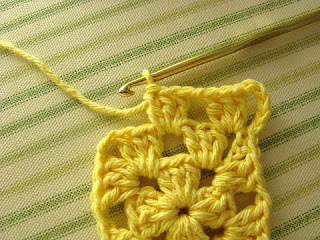
This vintage design could have been in my mother’s hope chest. How much more fun it would be to wash the dishes with this charming little scrubbie! I love vintage household items. The pattern for this dishmop appeared in an old newspaper. Here is a link for the original pattern. These old patterns were sometimes very brief! The writer assumed that the reader had enough crochet experience to understand what may come next, without having to write all of it out. In case you don’t have that experience, I’ve added some additional directions to the original pattern. I certainly don’t claim to be the designer, I just want you to be able to understand what the pattern actually means for you to do. The dish mop is not hard to make, but it becomes a wee bit unwieldy as you crochet. You may need to be patient, and just keep pushing the previous stitches aside.
Ruffled Crocheted Dishmop
I used one ball of yellow cotton thread, size 3. I used a size US0/2.55mm (Susan Bates) steel hook. The edging used several yards of green thread of the same size. I considered the project after row 6 and ended up pulling that row out. I thought that it just seemed too thick and ruffly, and I didn’t want the dish mop to mildew before it could dry out. So, I added the final row 7 to row 5 and called it good. With a smaller sized thread, I would probably want to keep row 6.
(abbreviations: ch=chain, dc=double crochet, sl st=slip stitch, sc=single crochet)
Foundation: Chain 10. Join with a slip stitch to the first chain to form a ring. Row 1: Chain 3. Make (dc, ch 1) 29 times in ring. (Catch the thread end under the stitches, then clip.) Join with a sl st in the top of the ch 3 at beginning of the round. (Ch 3 counts as the 1st dc of each row) (30 dc) Row 2: Chain 3. Make (dc, ch 1, dc, ch 1) in each ch 1 space around. Join with a sl st in the top of the ch 3. (60 dc.) Rows 3 through 5: Repeat row 2. (120 dc) (240 dc) (480 dc) Leaving a 3" tail, clip the thread and pull through the loop to finish off this color. Row 6: Add a contrasting color with the chain 3. Make (dc, ch 1) in each ch 1 space around. Join with a sl st in the top of the ch 3. Finish off this color as before. (480 dc) Row 7: Add the main color with a chain 2. Make (sc, ch 1) in each ch 1 space around. Join with a slip stitch in top of ch 2. Fasten off as before and weave in all the thread ends. Hanging Loop: With main color, join between any stitch in the starting ring with a chain 15. Join with a sl st on the opposite side of the ring. Turn. Make (1 sc, 22 dc, 1 sc) over the ch 15. With the edging color, if desired, make 1 sc in each stitch around the hanging loop. Fasten off and weave in the thread ends.
I sometimes wonder if ours is the only household left in America still doing the dishes by hand. Our small kitchen just doesn’t have room for a dishwasher. Doing dishes is not such a chore when I can use pretty dishcloths and dishtowels, and this little dishmop is positively darling. Miss Abigail definitely gets one or two of these in her hope chest.
Edit: If you like this little dish mop, you may be interested in a second rewrite of the pattern, more suited to worsted weight "kitchen cotton" yarn. View that post and get the pattern here. --km
Edit: If you like this little dish mop, you may be interested in a second rewrite of the pattern, more suited to worsted weight "kitchen cotton" yarn. View that post and get the pattern here. --km


