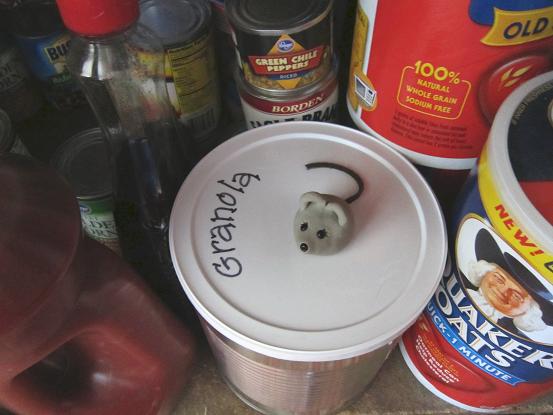
A “Fat Pantry Mouse” is simply a reminder of the blessing of a full pantry. If you have enough food to share with a mouse, and if that mouse is, indeed, fat, then your household isn’t going hungry. I love this idea. I first made a fat pantry mouse with the ladies in the Stanley Homemaker’s Club and I’ve kept one in my cupboard ever since. Every time I open the cupboard and see it peeking at me, or, if I have to move it from can to can, I recognize the blessing of a full cupboard. Because I can remember the times in our marriage when we didn’t have much food, I feel very grateful. I certainly want Miss Abigail to have a fat pantry mouse in her hope chest.
Gratitude reminders are important, I think, as it seems so easy to forget where your blessings come from. You may want to make a fat mouse for your pantry. If so, each time you see it, take a moment to offer a quick prayer for the blessing of having enough food to eat.
You’ll need half a package of Sculpey clay, a short (about 3-inch) length of shoelace leather, and three small, black glass beads. (These were size 6/0 seed beads) A toothpick will also come in handy. Other materials could be used; fabric, felt or even a different kind of clay.

Soften the clay and pinch off two small pieces for the ears. Roll everything into a ball.

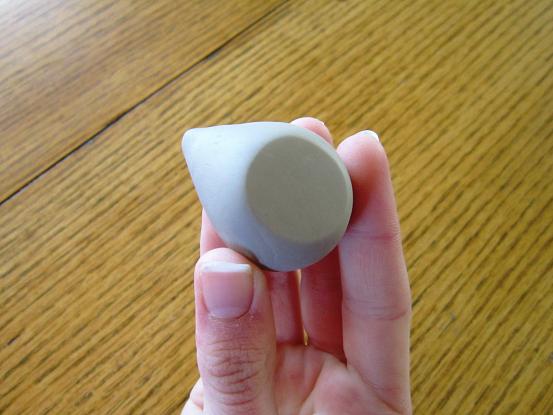
Roll one side of the body ball until is forms a fat cone shape.

Pinch and form a nice “nose” at the end of the cone.

Place the rounded end of the body on the table with the nose up. You can decide how much tilt you want for the nose of your mouse, but you don’t want the nose too far in the air.

Push down slightly on the body to make a flat bottom. This flat part makes the mouse stable in your cupboard, so make a nice wide bottom.
Push a bead into the end of the nose. You may have to adjust and form the clay around it a bit. Place the eyes just above the nose and push them into the clay also.

Flatten the small balls to make two ears, form them and attach them to the head, behind the eyes. This is the hardest part. Smooth down the clay as well as you can. If your little mouse falls off a can, you don’t want the ears to break right off, so attach them well.


Abigail wanted eyelashes on this mouse, because she is a girl mouse. You could add these, carefully, with a toothpick. Just an impression will work best.

Finally, use the toothpick to start a hole for the tail at the base of the body. Then, push the leather into the hole and smooth the clay around it.

There, she’s finished and ready to be baked. Isn’t she cute?

Place the mouse on a metal pie pan or a piece of foil and bake in a slow oven. I baked this one at 250 degrees Fahrenheit, for 30 minutes.

Finally, put the mouse in your pantry and allow it to help you cultivate a grateful heart.

A very cute idea!
ReplyDeleteOh my stars, this is too cute :) :) I'm definitely bookmarking this...and I may make a family of fat mice :) :) What a great idea and a great way to foster an attitude of gratitude :) Love and hugs from the ocean shores of California, Heather :)
ReplyDeleteHow adorable!!
ReplyDeleteSo funny that I read this today as I have a mouse in my room that I am trying to catch! The cold snap seems to have sent them in from the fields - so far the mouse has outwitted me!
Hi there,
ReplyDeleteI just wanted to let you know that this lady Rosemary Leigh-Houchin on FB is using your mouse pic & claiming it as her own work. Here is the link to her FB page:
https://www.facebook.com/rosemary.leighhouchin
She's also taken other's work (mine included) and posted it claiming it as hers so I've been searching to find the rightful creators & make them aware of what she is doing.